Introduction
If you want to turn your WordPress website into a fully functional online store, WooCommerce is one of the best tools you can choose. It is free, powerful, and flexible enough to support everything from a small product catalog to a larger shop with hundreds or thousands of items.
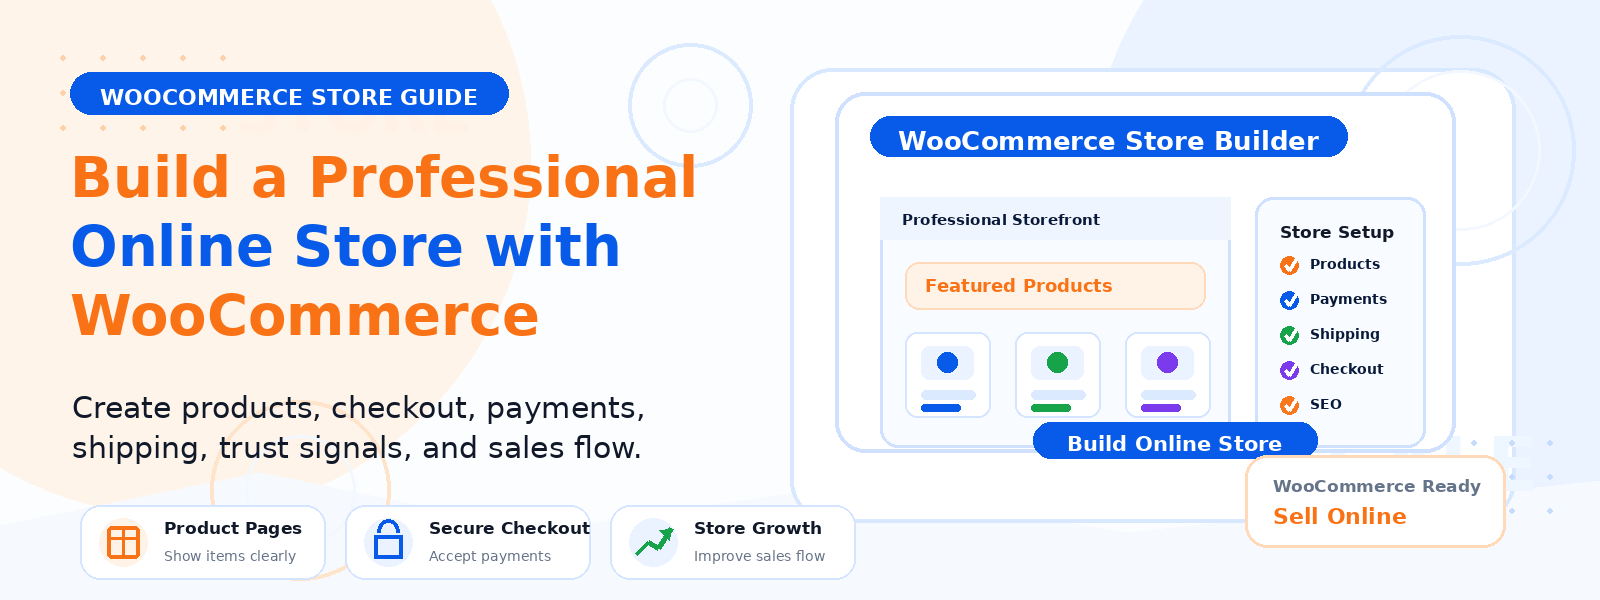
In this guide, you will learn how to build a professional online store with WooCommerce, what you need before getting started, and which settings matter most for a smooth shopping experience. If you are looking for helpful WordPress resources, themes, and plugins for your store, Codersly is a great place to explore tools that can support your build.
What Is WooCommerce?
WooCommerce is a free WordPress plugin that adds eCommerce features to your website. Once installed, it allows you to sell physical products, digital products, or both. It also gives you control over prices, stock, payment methods, shipping, taxes, and customer orders.
Because WooCommerce runs on WordPress, you get the flexibility of a content management system and the structure of a real online store in one place. That makes it a strong choice for beginners who want an affordable way to launch a shop without giving up control.
What You Need Before Installing WooCommerce
Before you install WooCommerce, make sure your WordPress site is ready. A little preparation now will save time later and help your store look more professional from day one.
1. A domain and reliable hosting
Your store needs a domain name and hosting plan that can handle WordPress traffic. Choose hosting that supports SSL (HTTPS) so your checkout pages feel secure and trustworthy.
2. A working WordPress website
WooCommerce is a WordPress plugin, so WordPress must already be installed and running before you can add it.
3. A compatible WooCommerce theme
Select a theme that is designed for eCommerce or clearly supports WooCommerce. A compatible theme helps your product pages, cart, and checkout look clean on desktop and mobile devices.
Step 1: Install and Activate WooCommerce
To begin, go to your WordPress dashboard and open Plugins → Add New. Search for WooCommerce, click Install Now, and then activate it.
After activation, WooCommerce will launch a setup wizard. This wizard helps you configure the basic details of your store, including location, payment options, and product type.
Step 2: Complete the Basic Store Setup
During the setup process, WooCommerce will ask for a few core details. These settings shape how your store works behind the scenes.
Store address
Enter your business location, including country, city, and address. This information is used for taxes, shipping, and store settings.
Currency
Choose the currency your customers will use. Make sure it matches your business market so pricing feels clear and familiar.
Product type
Choose whether you will sell physical products, digital products, or a mix of both. This affects shipping and download settings later.
Business details
WooCommerce may also ask about the size of your store and whether you are starting fresh or moving from another platform. Answer these questions as accurately as possible so you get relevant setup guidance.
Step 3: Configure Payment Methods
Payment setup is one of the most important parts of launching a professional store. If customers cannot pay easily, they may leave before completing checkout.
WooCommerce supports several payment methods, including:
- Cash on Delivery (COD)
- Bank transfer
- PayPal
- Stripe for card payments
You can manage these options in WooCommerce → Settings → Payments. From there, you can enable or disable each gateway, customize the title customers see, and add helpful instructions for offline payment methods.
Choose payment methods that match your audience and are available in your region. The simpler your checkout process is, the more likely customers are to complete their order.
Step 4: Set Up Shipping Options
Shipping can have a major impact on customer trust and conversion rates. Clear shipping rules help shoppers understand what to expect before they buy.
Shipping zones
A shipping zone is a geographic area, such as a country or region, where you can assign different shipping methods and prices. This allows you to offer more accurate shipping rates based on location.
Common shipping methods
- Flat rate: charge a fixed amount per order or per item
- Free shipping: offer free delivery above a minimum order value or with a coupon
- Local pickup: let customers collect orders from your store or warehouse
Go to WooCommerce → Settings → Shipping to create shipping zones and assign methods. Keep your shipping setup simple at first, then refine it as you learn more about customer behavior and order volume.
Step 5: Add Your First Products
Once your store settings are in place, you can start building your product catalog. A good product page should be clear, helpful, and easy to scan.
To add a product, go to Products → Add New and enter the product title, description, and product images. Make sure your featured image is high quality, because it is often the first thing shoppers notice.
Choose the right product type
- Simple product: best for one-item products with no variations
- Variable product: use this for items with options like size, color, or style
Add pricing and stock details
Set your regular price and sale price if needed. You can also enable stock management to keep track of inventory and avoid overselling.
Organize products with categories and tags
Categories and tags help shoppers browse your store more easily. They also make your product catalog look more structured and professional.
Step 6: Make Sure Your Store Pages Are Set Correctly
WooCommerce automatically creates several important pages for your store. These pages form the core of the customer experience.
- Shop: displays your product catalog
- Cart: lets customers review selected items
- Checkout: collects billing, shipping, and payment details
- My Account: gives customers access to orders and account information
Check WooCommerce → Settings → Advanced to make sure each page is correctly assigned. If you use a page builder or theme customizer, you can also refine the layout to better match your brand.
Step 7: Design for Trust and Usability
A professional online store is more than a collection of products. It should feel easy to use, visually consistent, and trustworthy.
Keep navigation simple
Use a clear menu with links to Shop, Categories, Cart, and My Account. Shoppers should never have to guess where to go next.
Improve product page readability
Use short bullet points for key benefits, followed by a fuller description below. This helps customers scan quickly and still get the details they need.
Use strong product images
High-quality images can make a big difference in sales. Show the product from multiple angles when possible and keep the image style consistent across your store.
Highlight calls to action
Your Add to Cart and Buy Now buttons should stand out clearly. Avoid clutter around the purchase area so users can complete their order without distraction.
Also test your store on mobile devices. Many shoppers browse and buy from their phones, so mobile usability is essential.
Step 8: Test Everything Before Launch
Before you announce your store, run through a few test orders. This is the best way to catch issues before real customers do.
Check the following:
- Adding items to the cart
- Removing items from the cart
- Applying coupons, if you use them
- Selecting shipping options
- Completing a test payment in sandbox mode
- Receiving admin and customer email notifications
If anything feels confusing or broken, fix it before launch. A smooth checkout process builds trust and reduces abandoned carts.
Best Practices for Running a WooCommerce Store
After launch, your work does not stop. Ongoing maintenance helps your store stay secure, fast, and reliable.
Keep WordPress and plugins updated
Regular updates help protect your site and keep your theme and plugins compatible with WooCommerce.
Back up your website
Use a backup solution so you can restore your store if something goes wrong. This is especially important for eCommerce sites.
Optimize performance
Use caching, compress images, and avoid unnecessary heavy plugins. Faster stores tend to provide a better shopping experience.
Track store performance
Review sales data, traffic, and product performance through WooCommerce reports or analytics tools. This helps you make smarter business decisions.
Improve product pages over time
Update descriptions, add FAQs, and refine images based on customer questions and buying behavior. Small improvements can make a real difference in conversions.
Conclusion
WooCommerce gives you everything you need to build a professional online store on WordPress. With the right theme, clear product pages, reliable payment methods, and a smooth checkout experience, you can create a shop that looks polished and works well for your customers.
Start with the basics, test carefully, and improve your store as you grow. If you want more WordPress resources, themes, and plugins to support your eCommerce project, explore Codersly for tools that can help you build with confidence.