The first WordPress installation is just the beginning. Out of the box, WordPress comes configured with default settings that prioritize getting a site running quickly — not necessarily with optimal performance, security, or SEO configuration for a production website. Taking time to adjust the right settings immediately after setting up a fresh WordPress installation can save you significant problems down the road and put your site on a much stronger foundation from day one.
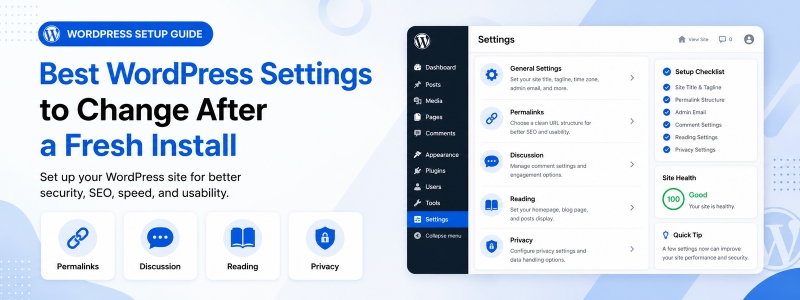
This guide covers the most important WordPress settings to review and adjust after a fresh installation — a practical checklist for site owners who want to start on the right foot.
1. Configure Your Site Title and Tagline
Go to Settings → General and ensure your Site Title accurately reflects your brand and your Tagline (if used) is either meaningful or left blank. These appear in browser tabs, RSS feed headers, and sometimes in search results. A generic “Just another WordPress site” tagline is a clear signal of a neglected configuration — replace it with something that accurately describes your site or simply leave the field empty.
2. Set Your WordPress Address and Site Address
In Settings → General, verify that both the WordPress Address (URL) and Site Address (URL) are correctly set to your preferred URL format — specifically, whether you want www or non-www (e.g., https://example.com vs. https://www.example.com). Choose one format and stick with it consistently, as inconsistency between these settings can cause redirect loops and confuse search engines about your canonical URL. Ensure both URLs use https:// (with SSL) rather than http://.
3. Set Your Timezone, Date Format, and Language
In Settings → General, set your timezone to the location your business or audience is primarily based in. This affects post scheduling — a post scheduled for “9:00 AM” will publish at 9:00 AM in whatever timezone is set. Set your preferred date and time display formats for your audience’s locale. Set your site language to match your primary content language for proper internationalization support.
4. Configure Your Permalink Structure
This is one of the most SEO-critical settings to get right before publishing any content. Go to Settings → Permalinks and change the default (which uses ugly numeric URLs like /?p=123) to a clean, keyword-friendly structure. The “Post name” option (/your-post-title/) is recommended for most sites as it produces clean, readable, SEO-friendly URLs. If you change this setting after publishing content, update your .htaccess file and implement redirects for any changed URLs to avoid broken links.
5. Configure Discussion and Comment Settings
Go to Settings → Discussion and review your comment settings. Key decisions: whether to allow comments on new posts by default, whether to require commenters to provide name and email, whether to hold comments for moderation before publishing, and whether to enable pingbacks and trackbacks (generally recommended to disable these to reduce spam). Set “Before a comment appears” to hold all first-time commenter submissions for moderation — this dramatically reduces published spam comments.
6. Set Your Reading Settings
In Settings → Reading, decide whether your homepage should display your latest posts (blog-style) or a static page (recommended for business sites). If using a static homepage, create dedicated pages for both your homepage and your posts page before configuring these settings. Also check the “Search engine visibility” setting — make sure the “Discourage search engines from indexing this site” checkbox is unchecked for a live production site. (It’s sometimes left checked from development.)
7. Configure Media Upload Settings
In Settings → Media, set your default image sizes to match your theme’s actual display dimensions. Oversized default image sizes cause WordPress to generate unnecessarily large thumbnail files that waste server storage. Review the sizes your theme actually uses for featured images, gallery images, and content images, and set these as your defaults to avoid generating and storing image sizes that will never be displayed.
8. Delete Default Content
A fresh WordPress installation includes a “Hello World!” sample post, a “Sample Page,” and the “Akismet Anti-Spam” and “Hello Dolly” plugins. Delete the sample post and sample page (or convert the page into your actual homepage), and deactivate and delete any plugins you won’t be using. Starting with a clean installation free of placeholder content ensures your site’s content and SEO are focused from the beginning.
9. Set Up Your User Profile
Go to Users → Your Profile and update your display name (the name shown publicly as the post author), website URL, and biographical info. More importantly, ensure your administrator account has a strong, unique password and consider changing the default admin username if it was set to “admin” during installation. Set the “Admin Color Scheme” to something distinctive so you can immediately recognize when you’re in the admin area rather than a frontend preview.
10. Install and Configure Essential Plugins
After adjusting these core settings, install the foundational plugins your site needs: an SEO plugin for meta tag management and sitemaps, a backup plugin configured to run daily with remote storage, a security plugin with basic firewall and login protection, and a caching plugin for performance. Configure each immediately rather than leaving them with default settings — a backup plugin that’s installed but not configured to actually run scheduled backups provides no protection.
Conclusion
Taking 30–60 minutes to properly configure these WordPress settings after installation creates a much more solid foundation for your site’s future growth. Many of these settings are difficult or disruptive to change later (especially permalinks), so investing time in getting them right from the start pays dividends in avoided problems and better performance over the life of your site.