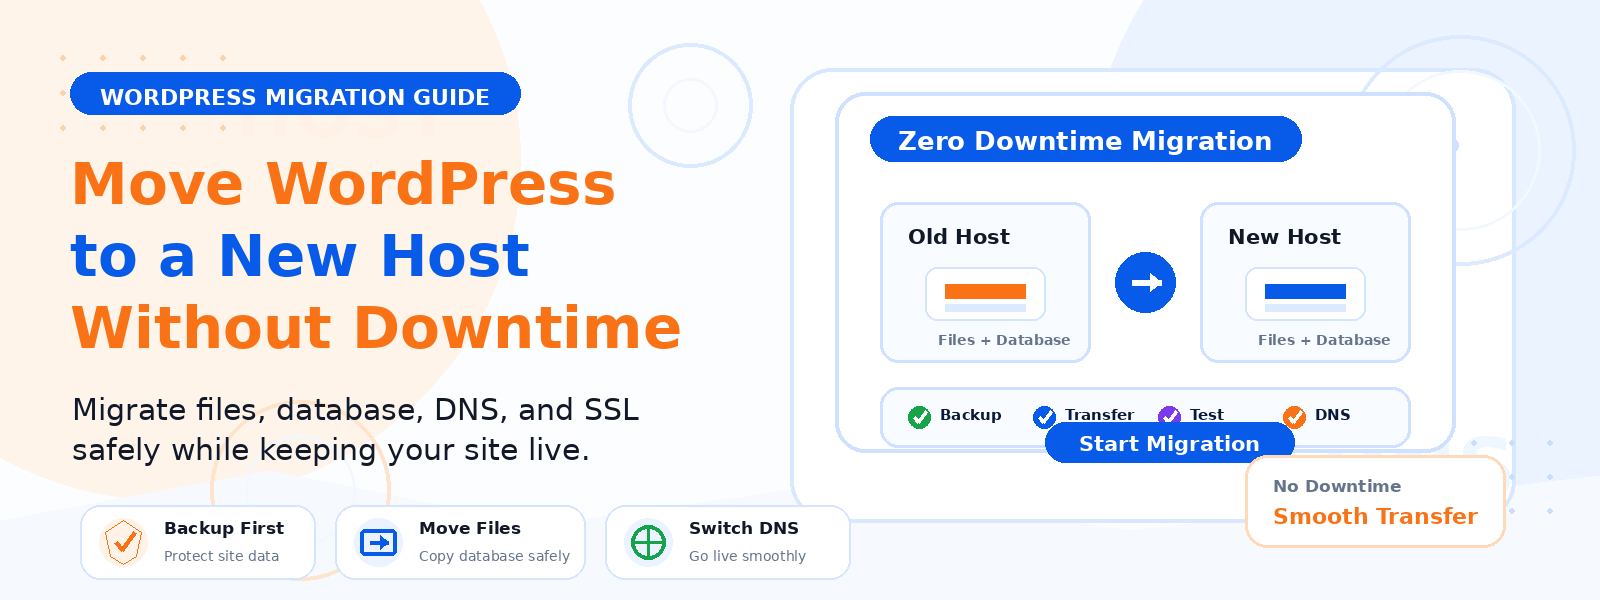
Migrating a WordPress website to a new hosting provider is one of the most technically intimidating tasks many site owners face — but it doesn’t have to result in downtime, lost data, or broken functionality. With careful planning and the right approach, you can move your entire WordPress site to a new host without your visitors experiencing any service interruption at all.
In this step-by-step guide, we’ll walk through the complete process of transferring a WordPress site to a new host while maintaining zero downtime — from pre-migration preparation to DNS propagation and final verification.
Why Zero-Downtime Migration Matters
Any downtime during a WordPress migration can mean lost revenue for eCommerce sites, missed form submissions for lead generation sites, or damaged credibility for business websites. Even for personal blogs, downtime creates a poor experience for returning visitors. The zero-downtime approach we’ll outline keeps your old site running on the original host while you set up and test the new site, only switching traffic over at the very end — minimizing risk and eliminating visitor-facing disruption.
Step 1: Back Up Your Entire WordPress Site
Before touching anything, create a complete backup of your WordPress site — both all files and the database. Use a backup plugin like UpdraftPlus or BackWPup to export a full backup to local storage or cloud storage. This backup serves as both your safety net and the source material you’ll use to recreate your site on the new host.
Step 2: Set Up Your WordPress Site on the New Host
Log into your new hosting account and set up a new WordPress installation in a temporary subdomain or subfolder (e.g., staging.yourdomain.com or yourdomain.com/new-site). This allows you to work on the new site without affecting the live site. Most hosting providers have a one-click WordPress installer (through cPanel or a similar panel) that makes this setup straightforward.
Step 3: Migrate Your Files and Database
The easiest way to migrate a WordPress site is using a migration plugin like Duplicator or All-in-One WP Migration. These plugins package your entire site — files and database — into a single portable file that you can download and import on the new host. Run the migration plugin on your existing site to create the package, upload the package to your new hosting environment, and run the plugin’s installer to recreate your site exactly on the new host.
Step 4: Update the Site URL in WordPress Settings
After restoring your site on the new host, you’ll need to update the WordPress URL settings to reflect the temporary subdomain or the new domain. This can be done through the wp-config.php file by adding: define(‘WP_HOME’, ‘your-new-url’); and define(‘WP_SITEURL’, ‘your-new-url’);. Alternatively, if the database was migrated with the original URLs, use a search-and-replace tool like the Better Search Replace plugin to update all instances of the old URL to the temporary new URL throughout the database.
Step 5: Test the New Site Thoroughly
Before switching any traffic, test every aspect of your new site installation comprehensively. Check your homepage, a selection of blog posts, product pages (if applicable), contact forms, user registration and login, the checkout process (for WooCommerce), all navigation links, media uploads, and custom functionality provided by your plugins. Compare pages side-by-side with the live site to ensure nothing is missing. This testing phase is where you’ll catch any migration issues before they affect your visitors.
Step 6: Reduce Your DNS TTL Before Migration Day
DNS TTL (Time To Live) controls how long DNS records are cached around the world. By default, TTL is often set to 24–48 hours — meaning that even after you update your DNS to point to the new host, some visitors may continue reaching the old server for up to two days while cached records expire. Before your migration day, log into your domain registrar’s DNS settings and reduce your TTL to 300 seconds (5 minutes). Do this 48 hours before you plan to switch — this gives existing caches time to expire the old long TTL before you make the change.
Step 7: Switch Your DNS to the New Host
When you’re satisfied that the new site is fully functional and tested, update your domain’s DNS A record to point to your new hosting server’s IP address. Because you reduced the TTL in the previous step, most visitors will start reaching the new server within 5–15 minutes rather than waiting up to 48 hours. During this brief transition window, keep both sites running — the old host receives any remaining cached traffic while new visitors reach the new host.
Step 8: Monitor and Verify After DNS Switch
After updating your DNS, monitor your site carefully for 24–48 hours. Watch for any 404 errors, broken links, or functionality issues that may have been missed during testing. Check your email functionality to ensure contact form submissions are being delivered from the new server. Monitor your site’s loading speed to confirm it’s performing as expected on the new hosting environment. Only cancel your old hosting account after you’ve confirmed that DNS has fully propagated globally and the new site is stable.
Conclusion
Migrating a WordPress site to a new host without downtime is entirely achievable with proper planning and a methodical approach. By setting up and thoroughly testing your new site before switching DNS, and by reducing your DNS TTL ahead of the migration, you eliminate the risk of visitor-facing disruption while protecting yourself with a complete backup and a tested rollback option. Take your time with each step, test thoroughly, and your migration will be seamless.